Monday, February 7, 2011

Craft #38 - Blog Design: Adding lists

Back when I was in middle/high school I self-taught myself some basic HTML.  I remember designing a webpage at one point in time. And that was before cascading style sheets were popular, so it must have been a lot of work.  However, when I was in college, I tried to edit a blog design.  It was terrible.  I did some of the things I wanted to do, but never could get my spacing issues settled.  And I could not figure out CSS for the life of me.  I felt pretty dumb, so I quit.  Boo hoo.


Fast forward to now.


The longer I use this blog, the more I despise my cookie-cutter blog design.  I would love to edit the design.  I'm going to start small and do various things to it throughout the months.  For "Craft" #38  I am going to figure out how to add a list to the side of my blog.  I would like one list of all my craft ideas, not necessarily with numbers.  That way I have a place to keep my ideas without knowing when exactly I'm going to do the specific crafts.  I also thought about having another list of my completed crafts, but it seems to me that my  archive already serves that purpose, and I don't want to get list-happy.  


I'll try to keep this post updated as I figure things out.  I was thinking about starting out by searching online for tutorials.  I know that's how I've done it in the past.  As I get further with the design, I might consider purchasing a book.  We'll see...  I'm excited, though.  I'm definitely going to get started on it tonight!


Attempt #1: Epic fail, lol.


I found this code:
           < ul >
      < li >Coffee< / li >
      < li >Milk< /li >
     < /ul >

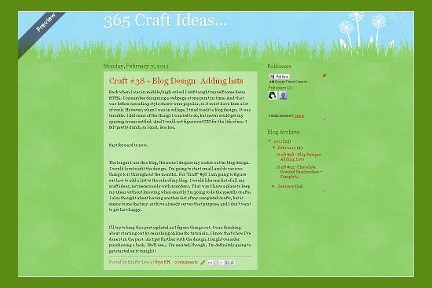
So, I plugged in a few things, and hit "preview."  This was a screenshot before the edit:
blog1

and this was a screenshot after the edit:
blog1

...
 Just 20 minutes later... I've decided to do this differently.  I don't have the foggiest idea how to edit a template that someone has already written, so I'm going to start my own, I guess.  I really thought just adding a list would be simple, but I just don't get it. :(  I'm looking at HTML,CSS, and XHTML books right now...

Tuesday, February 1, 2011

Craft #32 - Chocolate Covered Sandwiches --Completed!

My crafts are going to be a little out of order... I might have to fix that as I go along.  But I just had to post this one. :)


Chocolate Covered Sandwiches
Hmmm... on Twitpic

Ingredients
'Nilla Wafers
6oz Baker's Semi-Sweet Chocolate
Peanut Butter


Instructions:
Peanut butter sandwiches on TwitpicSpread peanut butter on 1 side of two wafers.  Push them together to make a sandwich.


Melt the chocolate on TwitpicA little bit of chocolate on TwitpicSlowly melt chocolate in a double boiler. Stir frequently


One at a time, drop sandwiches in the melted chocolate.  Push and flip it around with a fork until it is evenly covered.  Pick the sandwich up using the fork place it on the wax paper to set.  The sandwiches are ready when they can be removed from the wax paper cleanly.

Dip the cookies in the chocolate and let them set. Yum... on Twitpic